| |
To make an animated gif requires a little creativity. For our example we will use three tools. MircoSoft Paint, MicroSoft Photo Editor and GIF Construction Set 32.

|
| |
Step 1: will be to open the image in MicroSoft Photo Editor and determine its size in pixels. After the image has been opened right click on the image with your mouse and select Properties.
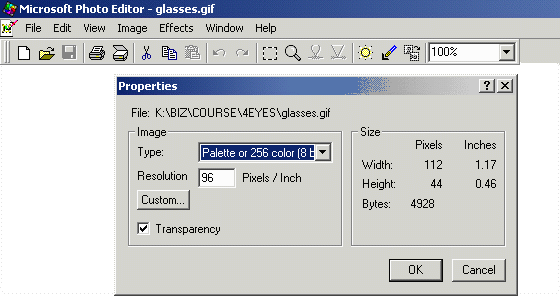
The image is 112 by 44 pixels. This will help you to define how big the eyes need to be. You should also note that the glasses.gif file is a transparent gif. You may want to change this by unchecking the Transperency box and saving the image.
|
| |
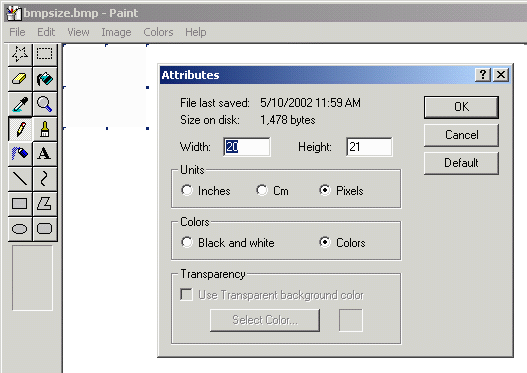
Step 2: Open MircoSoft Paint and set the image size to 20 by 21 pixels by selecting "Image" & "Attibutes".
|
| |
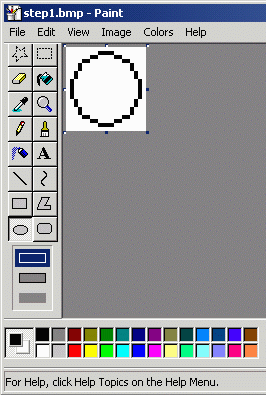
Step 3: Draw the eyes.
|
| |
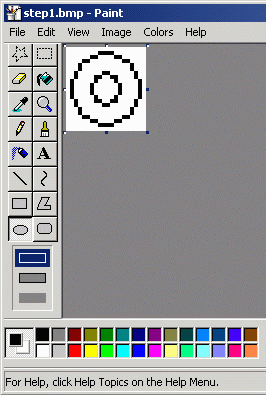
Step 4: Draw the pupil of the eye.
|
| |
Step 5: Paint the eye color.
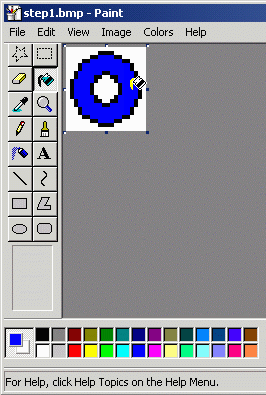
|
| |
Step 6: Paint the pupil.
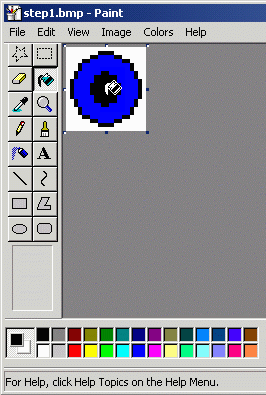
|
| |
Step 7: Add some reflections to the pupil.
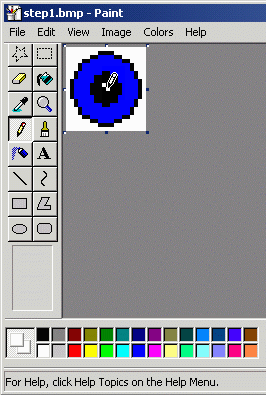
|
| |
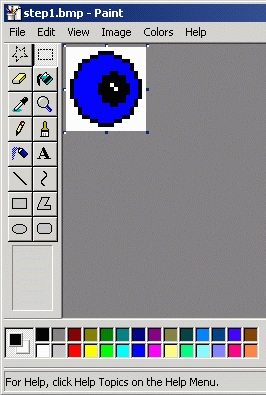
Step 8: Cut and paste the pupil to the left side of the eye.
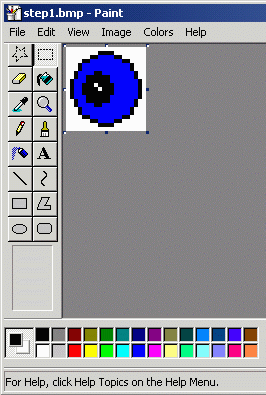
|
| |
Step 9: Cut and paste the pupil to the right side of the eye.
|
| |
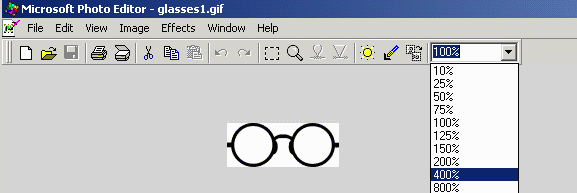
Step 10: You now have all the pieces you need to make the various images you will use to make
the animated images. To do this you will need to open both the glass and eye gifs in MicroSoft
Photo Editor. Select File and Open glasses1.gif and eye1.gif. Zoom out to 400...
|
| |
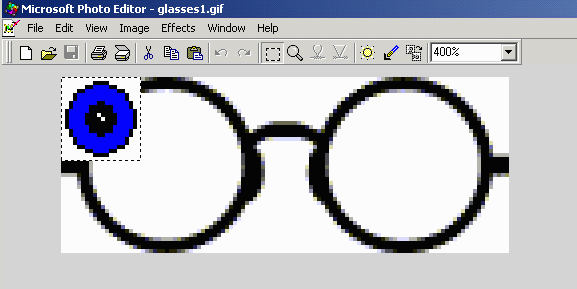
Step 11: Copy and paste the pupil to the left side of the glasses.

|
| |
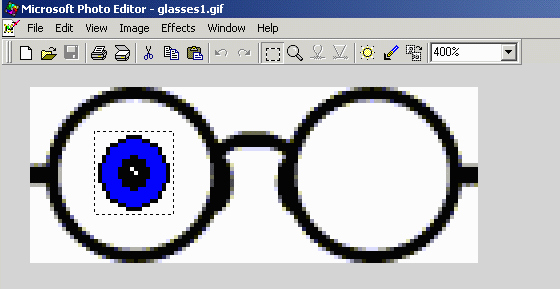
Step 12: Center the eye in the frame of the glasses.
|
| |
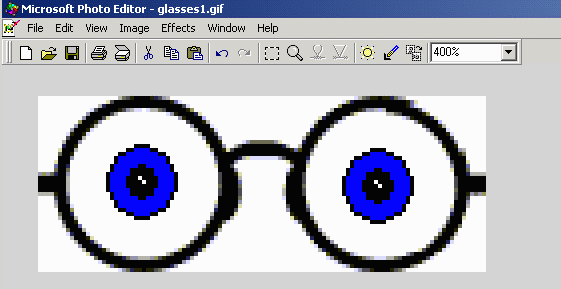
Step 13: Paste the eye and add another eye in the right side of the glasses.
|
| |
Step 14: Save the first image and using the other eye images build the other images, looking right, looking left and eyes closed.
|
| |
Step 15: After you are done you should have four images that can be used to build your animated gif.


|
| |
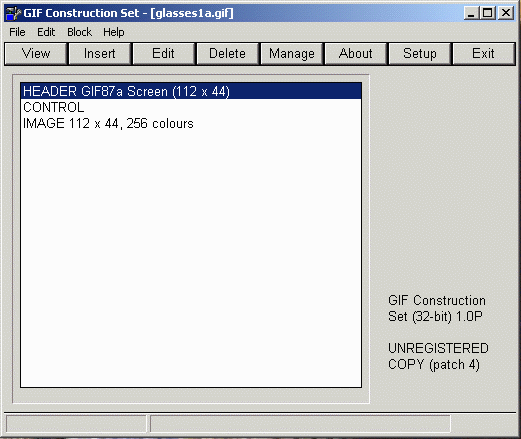
Step 16: Next, start the Gif Construction Set tool and open the first image.
|
| |
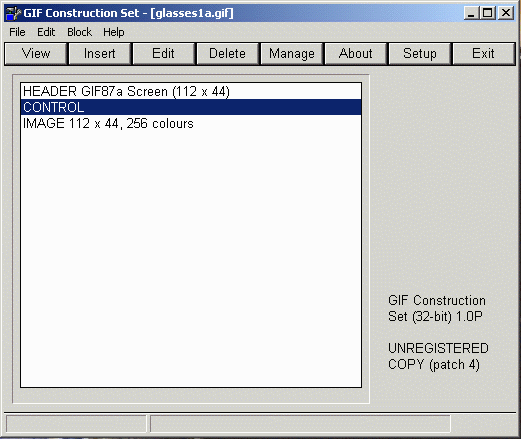
Step 17: Move to the Control line in the main form and double click on it.
|
| |
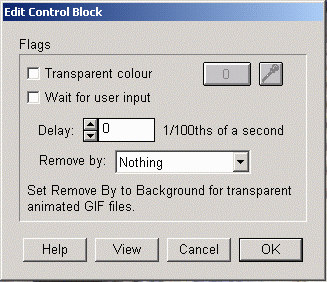
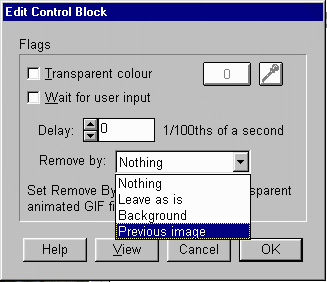
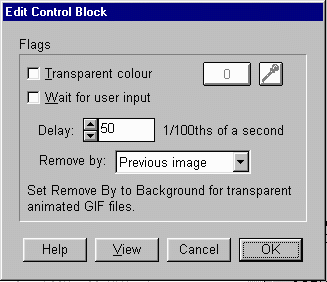
Step 18: The Edit Control Block form will pop up. The Edit Control Block form in the animated gif is placed before every image and is used as a setup for each image relative to timing and type of transistion between images. More will be said on this later.
|
| |
Step 19: Move to the Image line in the main form and double click on it.
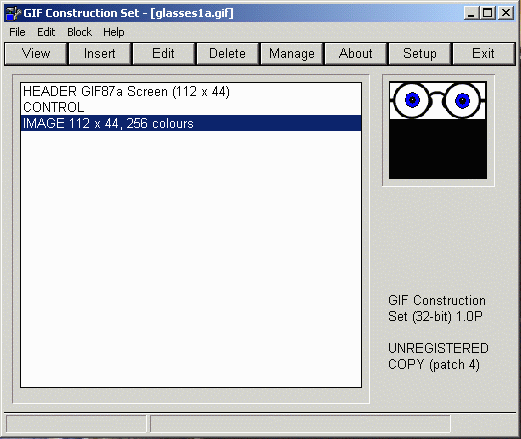
|
| |
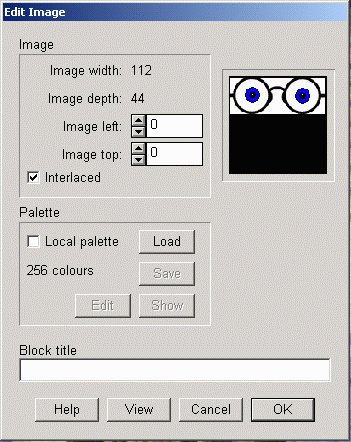
Step 20: The Edit Image form will pop up. This form controls some of the characteristics of the image like location, interlace and color palette.
|
| |
Step 21: OK, now you need to plan the sequence of images that you would like to use. We have created
four images that we need will use. For our example we will use the following sequency...
- look straight ahead ... (glasses1a.gif)
- look left ... (glasses1b.gif)
- blink ... (glasses1d.gif)
- look left ... (glasses1b.gif)
- look straight ahead ... (glasses1a.gif)
- look right ... (glasses1c.gif)
- blink ... (glasses1d.gif)
- look right ... (glasses1c.gif)
- look straight ahead ... (glasses1a.gif)
- blink ... (glasses1d.gif)
- loop
|
| |
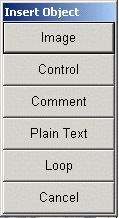
Step 22: Add the images as defined above and place a Control between each image and a Loop.
|
| |
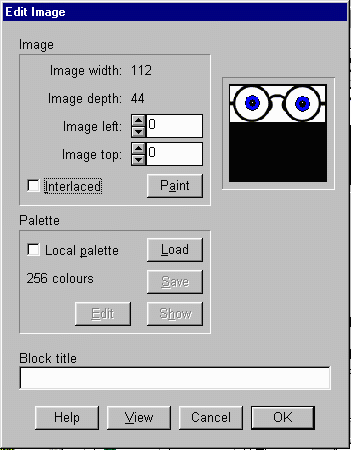
Step 24: Once the images and controls have been change all the images and deselect the "Interlaced" button, change the "Removed By" option to (Previous Image) and adjust the contol timing "Delay".
|
| |
Step 25: You can view your results by selecting the View button and when you are satisfied with the results do a "Save As" and save the animated gif...

|


